Rotisserie Chicken
This is really good: juicy, tender chicken with great flavor, and although preparation requires planning ahead, it really isn’t any work at all.

As previously noted, Ditalini bought me an electric rotisserie for the new gas grill, and I used it for the first time today. Friends recommended brining and roasting a chicken as a good way to get over the first time jitters, and I must say it was good advice.
Brining (Ingredients & Directions)
- 3 qts water
- 3/4 cup kosher salt
- 1/4 cup sugar
My chicken was a 5-lb whole fryer, cleaned and thoroughly washed. Since the chicken was so large, I reckoned it needed 3 quarts of brine (a smaller bird might need only two quarts, in which case use 1/4 cup salt & a proportional amount of sugar to 1 quart water). I mixed the water, salt, and sugar in a large stock pot and immersed the chicken in the brine, then covered the pot and put it in the refrigrator for 5 hours (1 hour per pound). After 5 hours I removed the chicken, washed it again thoroughly, and patted it dry.

Rub (Ingredients & Directions)
You can try any kind of commercial poultry rub, or make your own. Here’s one rub recipe I’ve tried twice now and rather like:
- ground expresso
- cayenne pepper
- paprika
- sugar
- salt
- pepper
Mix equal parts expresso & cayenne, half as much paprika & sugar, salt & pepper to taste. Rub chicken inside and out.

Roasting on the Spit
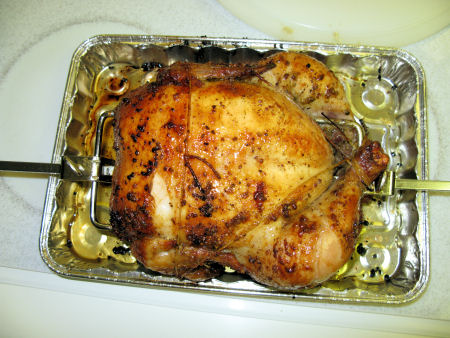
Tying the chicken so it didn’t flop around on the rotisserie was the hardest part for me. I had to retie it twice and finally ask for Ditalini’s help. Once the floppage was taken care of, it couldn’t have been easier.

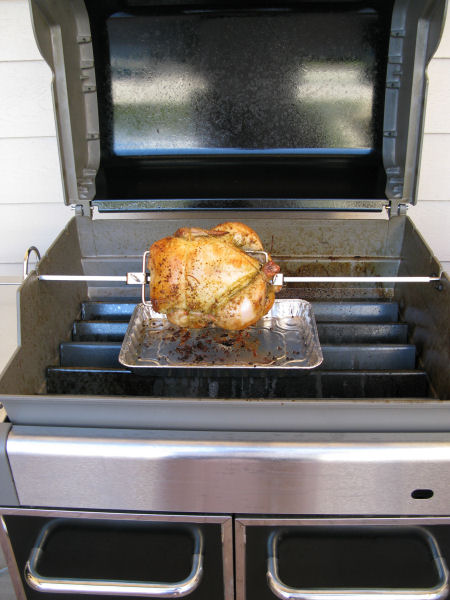
I use a Weber Genesis gas grill, and the first thing I learned is that you have to remove the grill racks to make vertical space for the chicken and the drip pan underneath. Now that I’ve done it once, I realize that you can remove just one grill rack and position the chicken on the spit so that it’s over the open portion, leaving one grill rack in place if you want to grill some veggies to go with your chicken.

I followed the manufacturer’s recommendation to use indirect medium heat for rotisserie chicken. A bird this size should cook up in 1 1/4 to 1 1/2 hours, and doesn’t need any attention or basting while cooking. This being my first rotisserie chicken, I couldn’t resist opening the lid a few times to marvel at my creation (and of course to take photos for this blog), so my first attempt took more like 1 3/4 hours to cook (170°F measured with a meat thermometer inserted into the thigh).
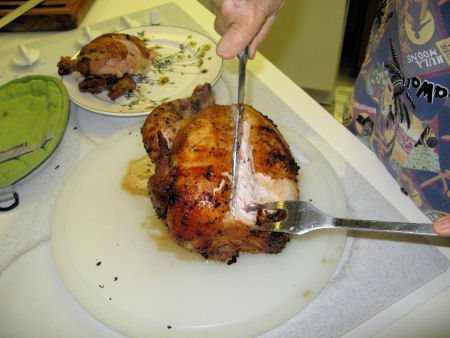
When the bird was done I brought it inside and let it rest for about 10 minutes. When Ditalini carved it she commented on how easily the meat came away from the bone.
Ditalini’s verdict? “What great chicken . . . you can do this again any time!”
Her wish is my command.
